Connect VPN for PC Windows

A practical, step-by-step guide to connect VPN on Windows PC, plus tips, troubleshooting, and comparisons.
Connecting a VPN on a Windows PC is a common task for privacy, security, and accessing region-restricted content. Whether you want to secure your public Wi-Fi connection, hide your IP, or connect to a work network, Windows provides built-in options and you can also use third-party VPN apps. This guide walks you through the fastest paths to get connected, what to know before you start, and how to troubleshoot common issues.

Understanding VPN basics for Windows
What a VPN does
- Encrypts your internet traffic.
- Masks your IP address.
- Tunnels data through a remote server.
VPN protocol options on Windows
- OpenVPN: Common for third-party VPNs. Requires software.
- IKEv2/IPsec: Fast, stable, often built into Windows.
- L2TP/IPsec: Widely supported but may require firewall port openings.
- WireGuard: Modern, fast, lightweight. Supported by many providers.
Built-in vs. third-party VPNs
- Built-in: Simple and secure for common protocols (IKEv2, L2TP/IPsec).
- Third-party: Often easier for OpenVPN/WireGuard, with additional features like kill switch and auto-connect.
- Security note: Always use trusted VPN services with a clear privacy policy.
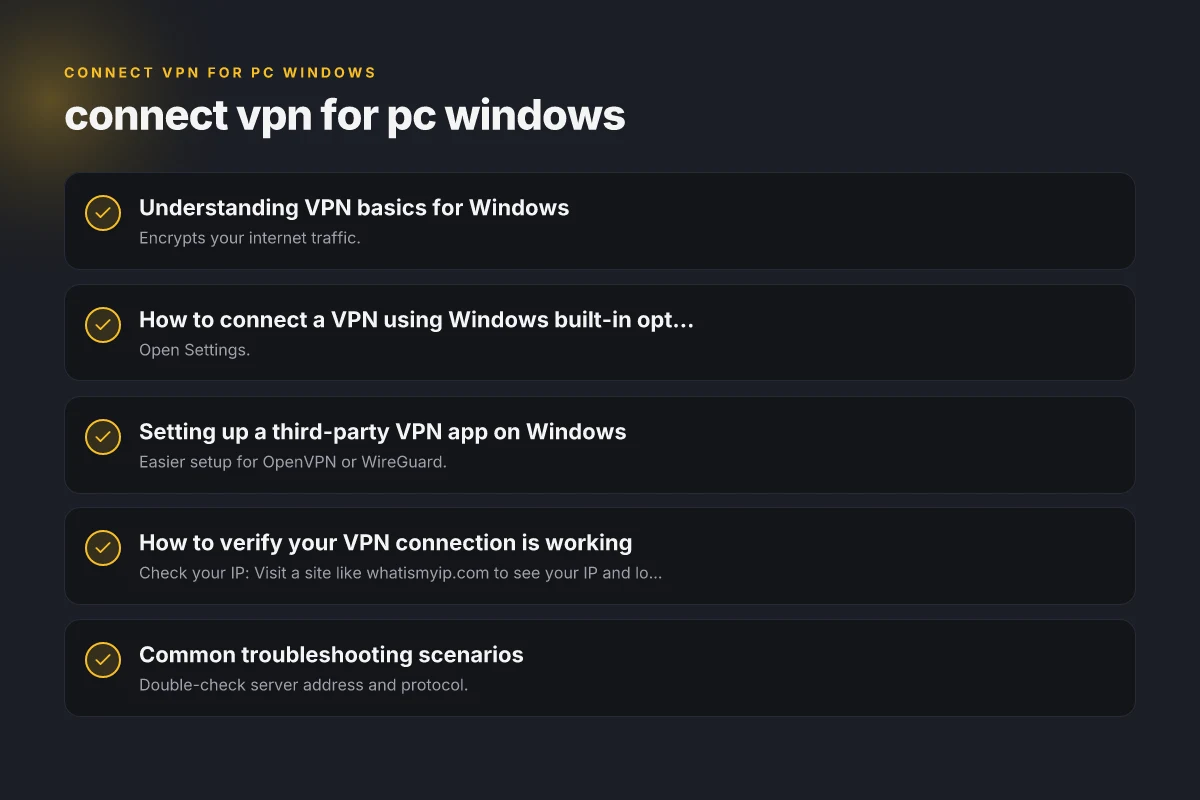
How to connect a VPN using Windows built-in options
For Windows 10 and Windows 11
- Open Settings.
- Go to Network & Internet.
- Choose VPN, then Add a VPN connection.
- Fill in the fields:
- VPN provider: Windows (built-in)
- Connection name: any label you prefer
- Server name or address: supplied by your VPN provider
- VPN type: Select the protocol (IKEv2, L2TP/IPsec with pre-shared key, or PPTP if still needed, PPTP is not recommended)
- Type of sign-in info: Username and password (or certificate, or one-time code)
- Save and connect from the VPN settings.
Quick tips for built-in VPNs
- Use IKEv2 when available for better stability on mobile/handover scenarios.
- If using L2TP/IPsec, ensure the shared key is correct and that your firewall allows UDP ports 500, 4500, and 1701.
- If you encounter Windows security prompts, confirm trusted networks and allow the connection.
Setting up a third-party VPN app on Windows
Why choose a third-party app
- Easier setup for OpenVPN or WireGuard.
- Auto-connect, kill switch, split tunneling, and DNS leak protection.
- Centralized control for families or teams.
Steps to install and connect
- Choose a reputable VPN provider with Windows support (look for no-logs policy, reputable ownership).
- Download the Windows app from the provider’s site or Microsoft Store.
- Install and sign in with your account.
- Pick a server location and connect.
- Verify your connection with an IP check or a test site.
Common features to look for
- Kill switch: blocks internet if the VPN drops.
- DNS leak protection: prevents DNS requests from leaking outside the VPN tunnel.
- Split tunneling: allows you to route some apps through VPN while others bypass it.
- Auto-connect on startup or when on untrusted networks.
How to verify your VPN connection is working
Quick verification checks
- Check your IP: Visit a site like whatismyip.com to see your IP and location.
- DNS test: Use dnsleaktest.com to ensure no leaks.
- Ping test: Run a simple ping to a known address; VPN should show a different route but still respond.
- Speed test: Compare speeds with and without VPN to gauge performance impact.
What to do if you don’t see the VPN in use
- Ensure you are connected to the correct server.
- Re-enter credentials or re-import certificates if required.
- Check firewall or antivirus settings that might block VPN traffic.
- Reinstall the VPN app as a last resort.
Common troubleshooting scenarios
VPN connection fails to establish
- Double-check server address and protocol.
- Ensure your internet connection is active.
- Temporarily disable antivirus or firewall to test. Re-enable with exceptions if needed.
- Update the VPN app and Windows network drivers.
Slow performance or unstable connection
- Try a different server location.
- Switch to a more efficient protocol like WireGuard or OpenVPN UDP.
- Check for bandwidth throttling by the ISP and consider a lighter server load.
- Restart your router and PC.
DNS or IP leaks
- Enable DNS leak protection in the VPN app.
- Use the VPN’s DNS servers or configure secure DNS (e.g., DoH/DNS-over-HTTPS).
- Ensure the VPN is set to force all DNS lookups through the tunnel.
Quick comparison: built-in Windows VPN vs. third-party VPN apps
| Feature | Built-in Windows VPN | Third-party VPN app |
|---|---|---|
| Ease of setup | Moderate; manual for each connection | Easy; one-click server selection |
| Protocol options | IKEv2, L2TP/IPsec, PPTP | OpenVPN, WireGuard, IKEv2, etc. |
| Kill switch | Not built-in; depends on policy | Usually included |
| DNS leak protection | Minimal; depends on config | Commonly included |
| Auto-connect | Manual setup; autostart possible | Built-in auto-connect and profiles |
| Split tunneling | Not standard | Often available |
If you need a simple, native option on Windows and you only require a stable, common protocol, the built-in VPN setup works well. If you want advanced features, faster protocols, and more control, a third-party VPN app is usually the better choice.
Security considerations and best practices
- Choose a reputable VPN provider with a clear privacy policy. Look for independent audits and a transparent logging stance.
- Use strong sign-in credentials and enable multi-factor authentication when available.
- Prefer VPNs that use modern protocols (WireGuard or OpenVPN) and offer kill switch and DNS leak protection.
- Be aware of the local laws and the provider’s terms of service regarding logging and data retention.
- Keep Windows and the VPN app updated to patch security vulnerabilities.
How to switch VPNs or disconnect
- To switch servers in a third-party app: open the app, pick a new server, and connect.
- To switch built-in VPN profiles: go to Settings > Network & Internet > VPN, choose a profile, and connect.
- To disconnect: select Disconnect in the app or in the VPN settings.
Final recommendations
- If you’re new to VPNs and want a straightforward setup on Windows, start with the built-in Windows VPN for basic use, especially if you only need secure browsing on trusted networks.
- If you require robust security features, faster performance, and more server options, choose a reputable third-party VPN and install its Windows app.
- Always test for IP and DNS leaks after configuring a VPN, and enable a kill switch and DNS protection where possible.
If you’d like, I can tailor instructions to your exact Windows version (Windows 10, Windows 11, or an enterprise edition) or help you pick a VPN provider based on your priorities (privacy, streaming, gaming, business use, or low latency).
| VPN | Obfuscation | From / month | Plan | Free plan | Refund | Alipay | UnionPay | Crypto | Website opens in China | Trustpilot | |
|---|---|---|---|---|---|---|---|---|---|---|---|
 ZoogVPN | Turn on manually Shadow | $2.49/mo | 27 months: $59.99 | Yes | 7 days | ✓ | ✓ | ✓ | ✓ | Official site blocked; our special link opens (4.4 s) | 4.2/5 (195 reviews) |
 NordVPN | Turn on manually Obfuscated Servers / NordWhisper | $3.49/mo | 27 months: $94.23 | No | 30 days | ? | ✗ | ✓ | ✓ | ✗ Blocked | 4.2/5 (51,628 reviews) |
 ExpressVPN | ✓ On by default all servers | $3.00/mo | 28 months: $84 | No | 30 days | ✗ | ✗ | ✓ | ✗ | ✗ Blocked | 4.4/5 (29,706 reviews) |
 Surfshark | ✓ On by default Camouflage, with OpenVPN | See site | See site | No | 30 days | ✗ | ✗ | ✗ | ✓ | ✗ Blocked | 4.3/5 (31,823 reviews) |
 Proton VPN | Turn on manually Stealth, free plan too | $2.99/mo | 12 months: $35.88 | Yes | 30 days | ✗ | ✗ | ✗ | ✓ | ✗ Blocked | 2.1/5 (1,040 reviews) |
 Astrill VPN | Turn on manually StealthVPN / OpenWeb | $12.50/mo | 24 months: $300 | No | See site | ✗ | ✗ | ✗ | ✓ | ✗ Blocked | 1.3/5 (110 reviews) |
 Private Internet Access | Turn on manually Shadowsocks, OpenVPN only | $2.03/mo | 40 months: $81.2 | No | 30 days | ✗ | ✗ | ✗ | ✗ | ✗ Blocked | 4.2/5 (11,033 reviews) |
 CyberGhost | Turn on manually selected servers | $2.19/mo | 28 months: $61.32 | No | 45 days | ✗ | ✗ | ✗ | ✓ | ✗ Blocked | 4.0/5 (24,178 reviews) |
 PureVPN | Turn on manually switch to OpenVPN | $1.69/mo | 60 months: $101.55 | No | 31 days | ? | ? | ✗ | ✓ | ✗ Blocked | 4.4/5 (17,994 reviews) |
 AdGuard VPN | ✓ On by default TrustTunnel | $2.99/mo | 24 months: $71.76 | Yes | 30 days | ✓ | ✗ | ✓ | ✓ | Official site blocked; our special link opens (3.7 s) | 4.3/5 (290 reviews) |
 Mullvad | Turn on manually QUIC / Shadowsocks / LWO | $5.61/mo | €5/mo | No | 14 days | ✗ | ✗ | ✗ | ✓ | ✗ Blocked | 3.2/5 (192 reviews) |
 Windscribe | Turn on manually Stealth / WStunnel | $5.75/mo | 12 months: $69 | Yes | See site | ✗ | ✗ | ✗ | ✓ | ✗ Blocked | 4.7/5 (13,355 reviews) |
 StrongVPN | Turn on manually Scramble, OpenVPN TCP | See site | See site | No | 30 days | ✓ | ✗ | ✗ | ✗ | ✗ Blocked | 4.4/5 (2,695 reviews) |
 LightXtreme 闪连 | Not listed | $7.08/mo | 12 months: $84.99 | Yes | 30 days | ✓ | ✓ | ✓ | ✓ | ✓ Yes (3.5 s) | No page |
Prices checked 2026-11-10 on each vendor's pricing page (cheapest long plan, USD). Check the vendor's checkout for the final price.
Obfuscation checked 2026-11-14 on each vendor's site and help center: "on by default" = nothing to set; "turn on manually" = switch protocol or mode in settings; "not listed" = the vendor describes no obfuscation.
Payment methods checked 2026-11-10 on each vendor's payment pages: all 14 take cards and PayPal; ✗ = not listed, ? = the vendor's own pages disagree.
China access: whether the official website opens from mainland China networks (tests the website only, not the VPN connection). Last checked 2026-11-18 01:02 Beijing time.
Trustpilot score and review count checked 2026-11-10.